
Prepare the Furniture
Wipe down the furniture — in this case, the tabletop — and let dry. For this DIY, we wanted to keep the wood color, but you could also paint the table surface for more of a tile-inspired look. For instance, paint the tabletop white and use black paint for stenciling. Place the stencil onto furniture and secure it with tape.
Start Stenciling
Add a small amount to paint to a paper plate. Dab the brush onto the paint and then wipe any excess onto a paper towel. It should almost feel dry to the touch — that way, the color will not be too heavy on the stencil. Then, pounce the brush onto the stencil.
Paint one stencil, allow to dry for a few minutes and then place the stencil next to where you just painted. You can line up the stencil onto the edge of the pattern that you had just completed. Secure again with tape.
Paint one stencil, allow to dry for a few minutes and then place the stencil next to where you just painted. You can line up the stencil onto the edge of the pattern that you had just completed. Secure again with tape.
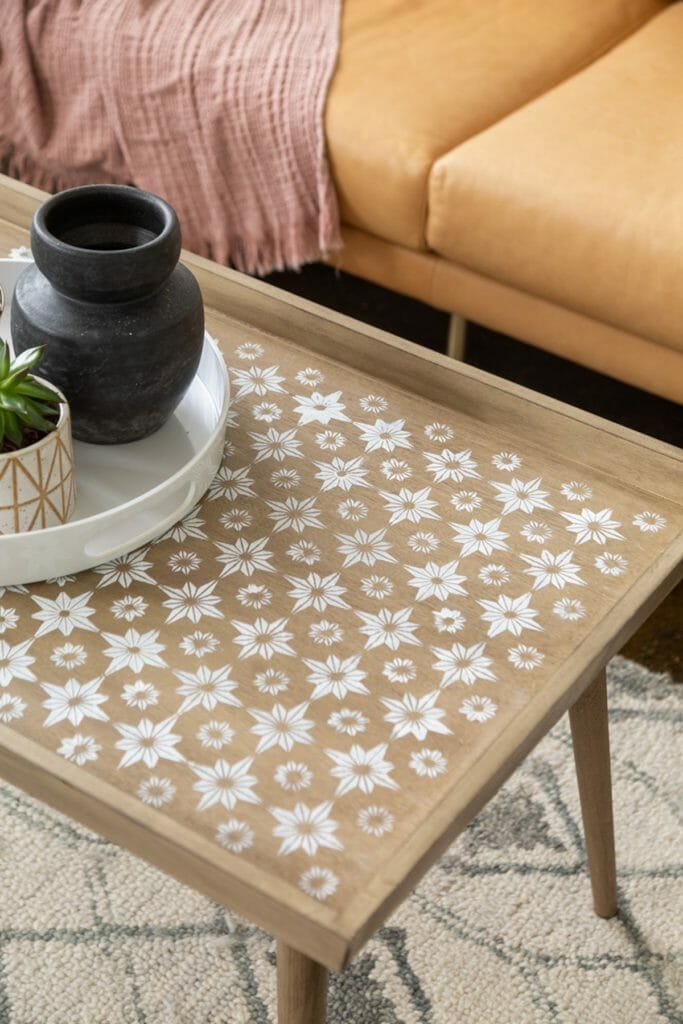
Tile the Edge of the Pattern
If your furniture has a lip, like this coffee table, you’ll want to paint right up to that edge. To do it, tape the stencil to the top and up the border as well to hold it in place. Continue stenciling.
Wipe Excess Paint
Pro tip: Use a baby wipe to remove excess paint from the stencil.
It is a good idea to wipe down the back of the stencil after about five uses. Wipe it with a baby wipe and dry with a paper towel; this helps to keep the stencil clean and not cause too much of the paint to seep through the edges.
It is a good idea to wipe down the back of the stencil after about five uses. Wipe it with a baby wipe and dry with a paper towel; this helps to keep the stencil clean and not cause too much of the paint to seep through the edges.
Add a Varnish or Polyurethane to Protect the Furniture
Apply varnish to protect the wood furniture, and allow it to dry overnight.
-
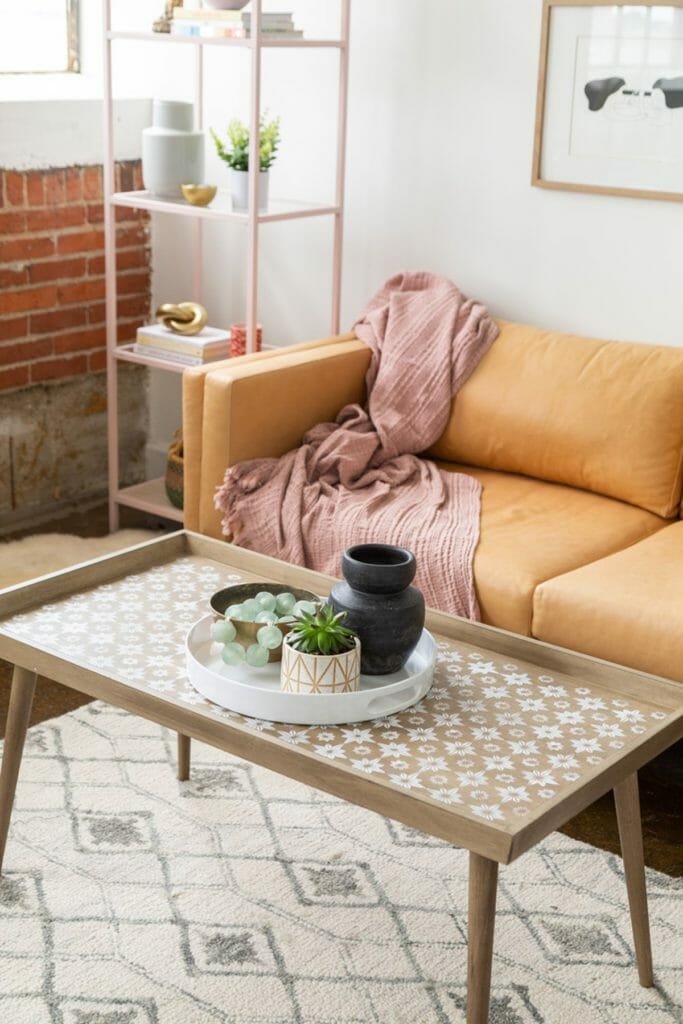
Final solution -
It looks awesome


